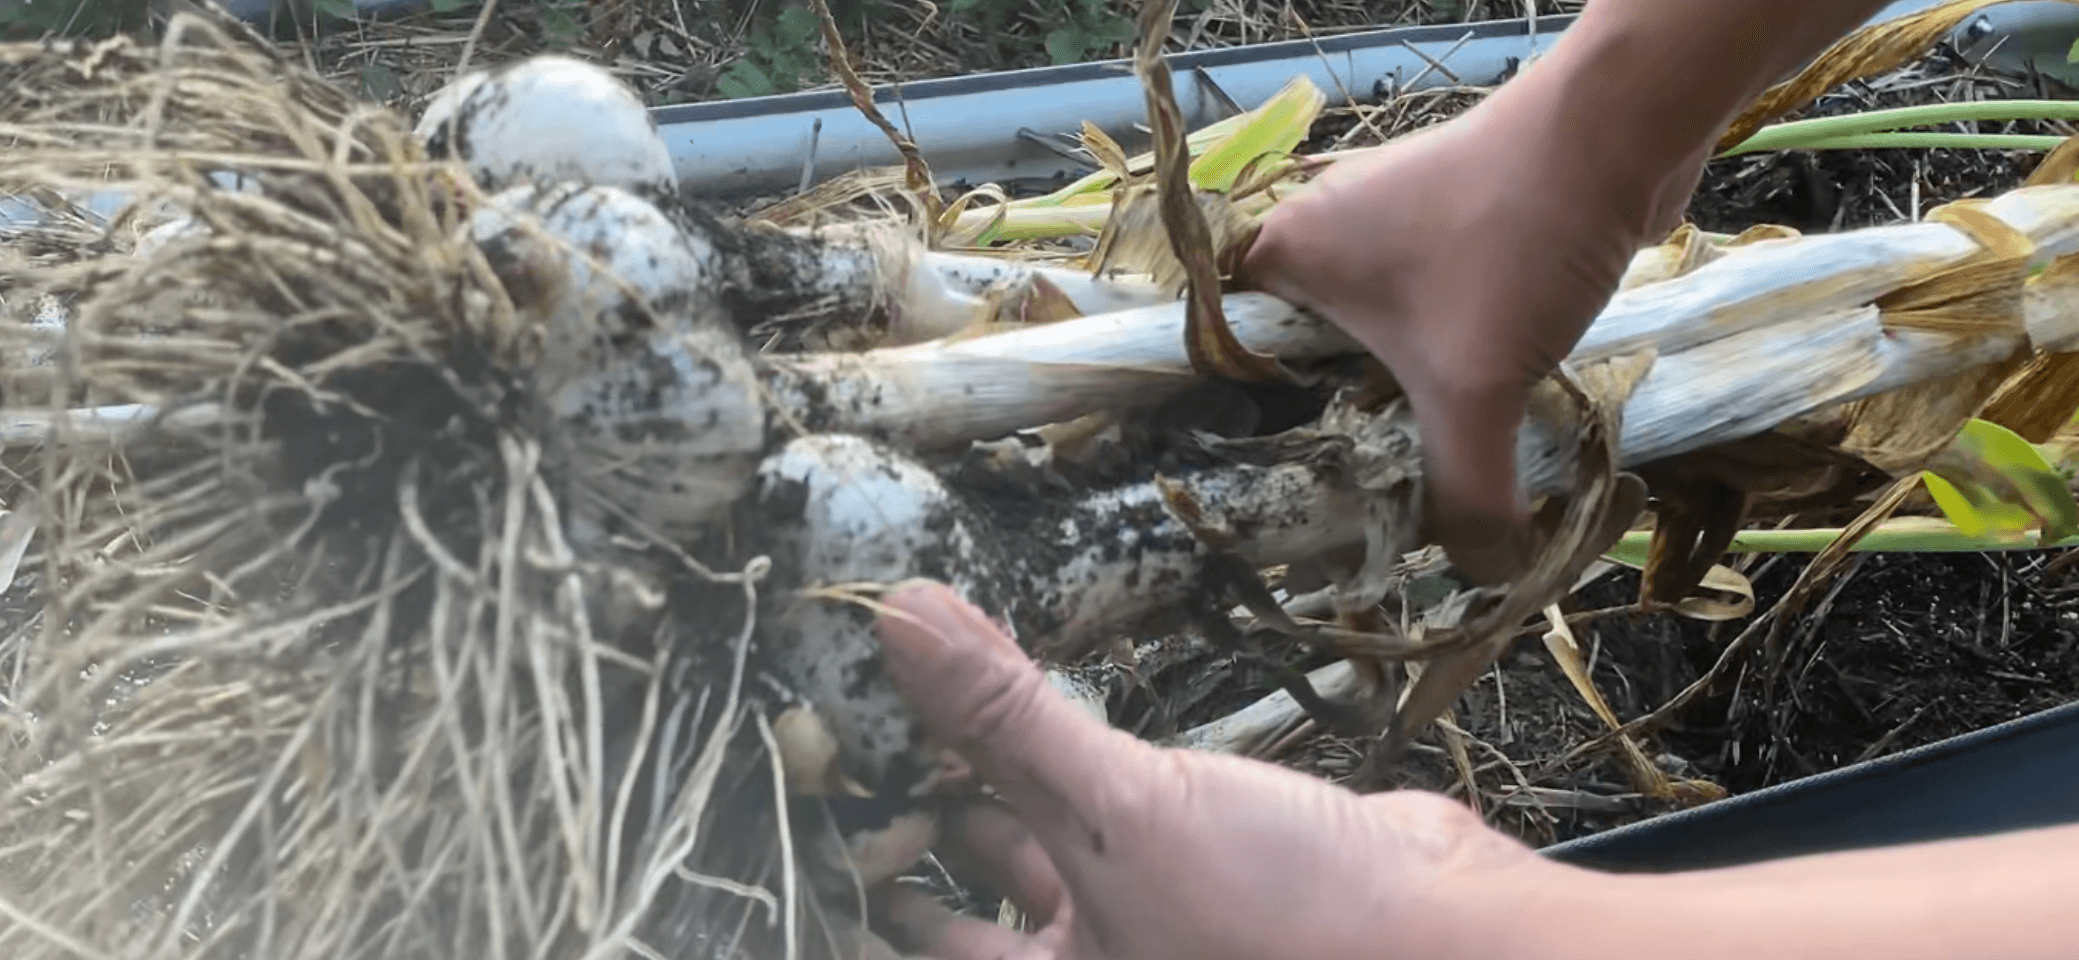
Elephant garlic is ready to harvest when its lower leaves have browned but several upper leaves are still green. The calendar can point you toward the harvest window, but the leaves—and one carefully lifted test bulb—make the final decision.
The short answer
Start checking elephant garlic when the bottom third to half of the leaves has turned yellow or brown and approximately four or five upper leaves remain partly green. Lift one test bulb. Harvest the rest when the bulb is full-sized, the cloves are visibly defined and the outer wrappers are still intact. Do not wait until every leaf is completely brown.
Here in our maritime Zone 8b garden in Kitsap County, Washington, that usually means watching closely in midsummer. Your harvest date can move with planting time, variety, weather, drainage and spring temperatures, so use the plant rather than a fixed date as your most reliable guide.
Seven signs elephant garlic is ready to harvest
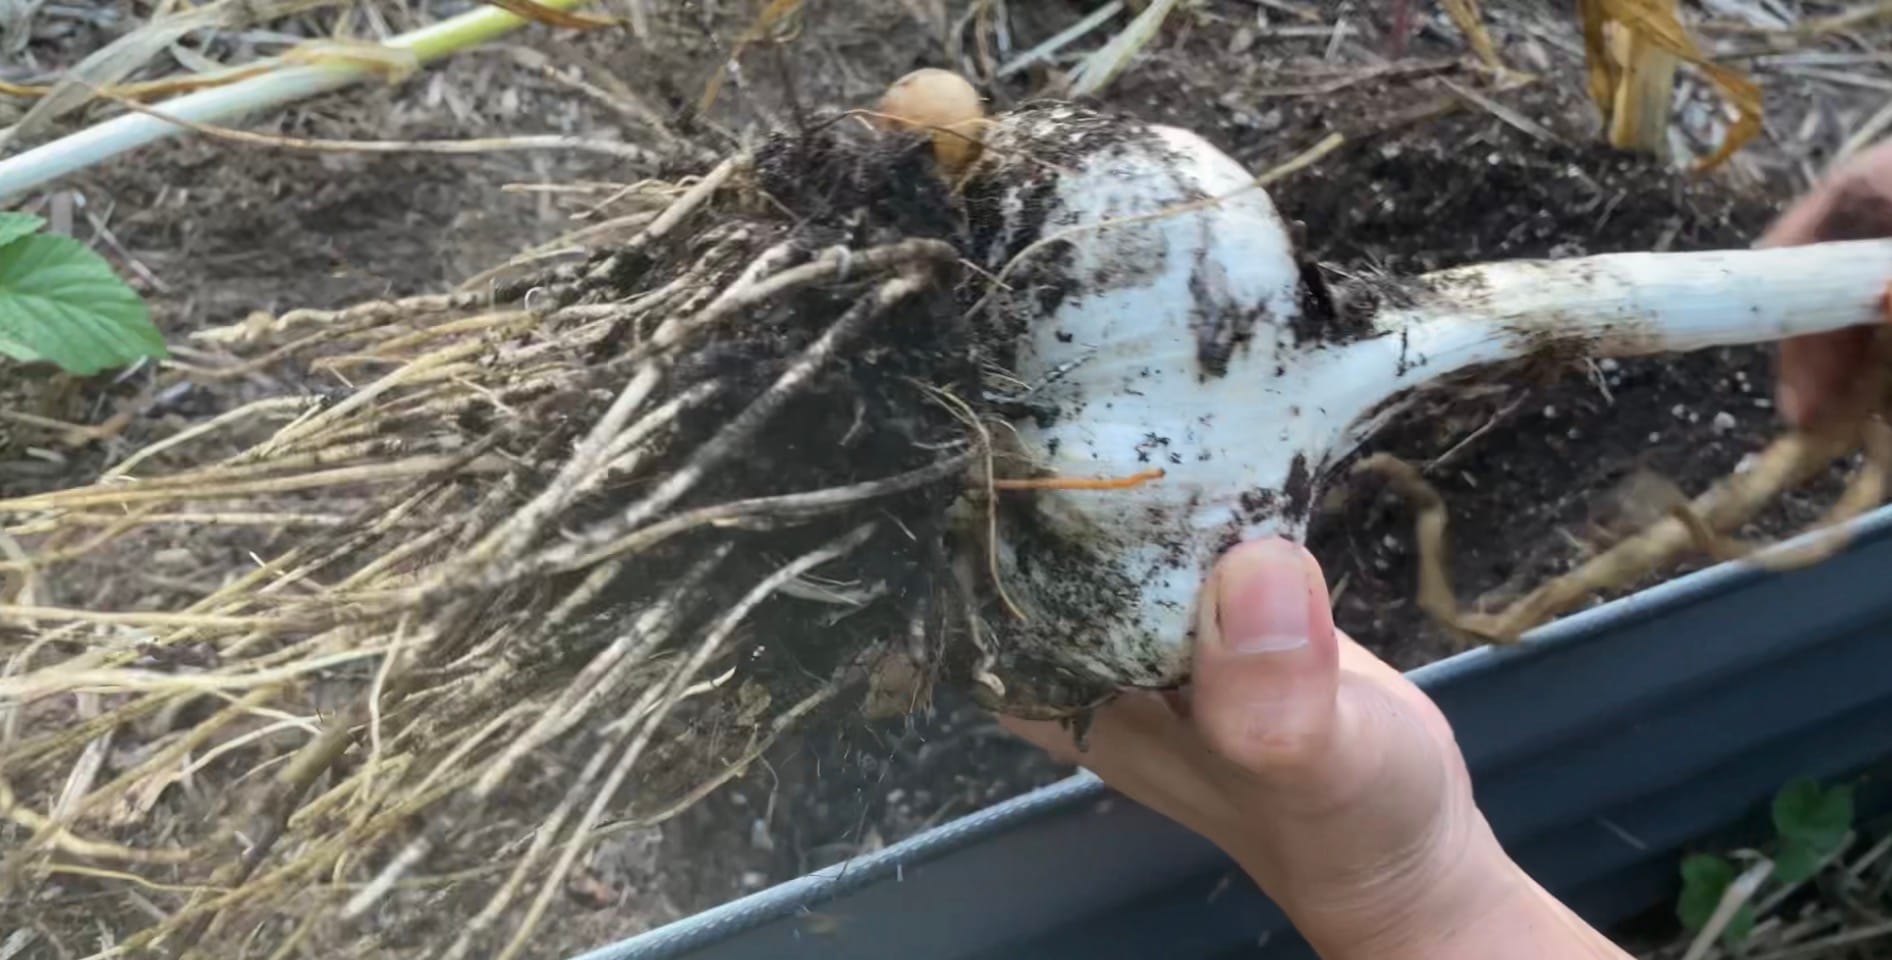
The lowest leaves have turned brown
The first reliable signal is natural dieback beginning at the bottom of the plant. One yellow leaf does not necessarily mean the bulb is ready, but several dry lower leaves tell you that the plant is moving energy away from the foliage and the harvest window is approaching.
Check the whole planting rather than one stressed plant. A damaged or poorly watered plant can brown early for reasons unrelated to maturity.
Four or five upper leaves are still partly green
The goal is not a completely dead plant. Each remaining green leaf corresponds roughly to a protective wrapper around the developing bulb. Harvesting while several upper leaves remain green helps preserve enough intact wrappers for curing and storage.
If you wait until the entire top is brown, the wrappers may begin breaking down underground.
The plant has reached its normal midsummer window
Fall-planted elephant garlic commonly matures in midsummer, although local timing varies. Use the season as a reminder to begin inspecting plants—not as permission to dig every bulb on a specific date.
A cool spring can delay bulbing. An unusually warm spring, dry soil or an early planting can move the crop ahead.
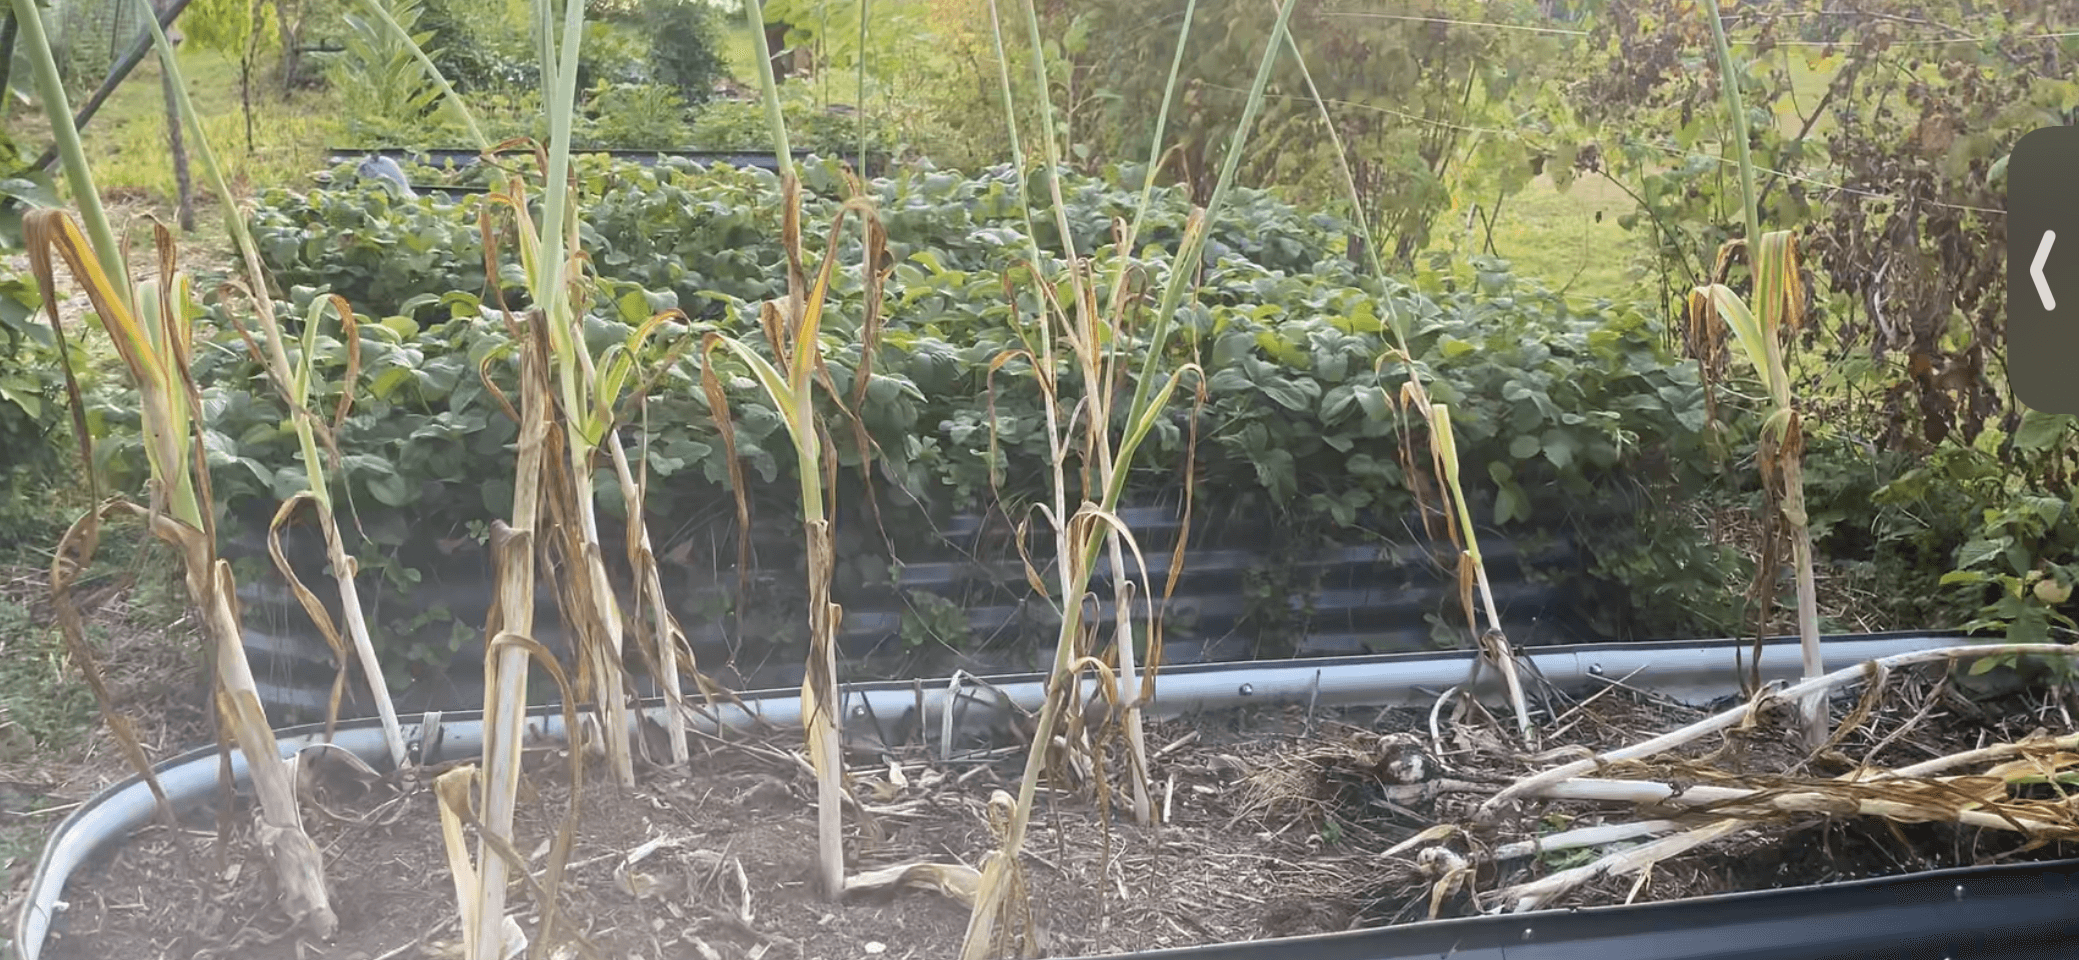
A test bulb feels full and well formed
Leaves give you the warning; a test bulb gives you the answer. Loosen one representative plant and inspect it. The bulb should feel substantial rather than narrow and immature.
Do not judge only by the impressive width of the stalk. Elephant garlic is quite capable of looking dramatic above ground while quietly postponing the part you intend to eat.
The cloves are visibly defined
On a mature bulb, you should be able to see or feel the individual clove sections beneath the wrappers. If the bulb is smooth and round with little clove definition, give the remaining plants more time if the foliage is still healthy.
The outer wrappers are intact and tight
The ideal bulb has developed cloves while its outer skins still hold everything together. Intact wrappers protect the cloves during curing and reduce moisture loss and physical damage during storage.
The bulb has not started splitting open
Exposed or separating cloves usually indicate that the bulb stayed in the ground too long. Split bulbs are still usable if sound, but they generally do not store as well. Move them to the front of the kitchen line.
Too early, ready or too late?
| What you see | What it means | What to do |
|---|---|---|
| Mostly green foliage; bulb is narrow or smooth | Probably too early | Re-cover the test area and check again in about a week. |
| Several brown lower leaves; four or five upper leaves partly green; full bulb with defined cloves | Ideal harvest window | Lift the crop during a dry weather window. |
| All foliage brown; wrappers split; cloves separating | Probably late | Harvest immediately and use damaged or exposed bulbs first. |
| Leaves yellow early but bulb remains small | Possible stress, disease or poor growing conditions | Inspect roots and bulb before assuming the entire crop is mature. |
How to inspect a test bulb without damaging the crop
Choose a plant that represents the average size and condition of the row. Do not select only the largest plant unless you want a very optimistic answer.
Insert a garden fork or spade several inches away from the stalk, loosen the soil beneath the bulb and lift it from below. If it is clearly immature, wait several days before checking another plant.
Tools for a careful harvest
- Garden fork or digging fork
- Narrow spade or sturdy trowel
- Garden gloves
- Shallow harvest crate
- Soft brush for dry soil
- Labels for varieties or planting rows
- Twine or drying rack
- Clean pruning shears for after curing
How to harvest elephant garlic without bruising it
Choose a dry weather window
Harvesting from reasonably dry soil makes lifting and cleaning easier. If possible, avoid digging immediately after heavy rain.
Insert the fork away from the bulb
Elephant garlic bulbs are wider than the stalk suggests. Begin several inches away so a tine or shovel edge does not slice through the cloves.
Loosen from underneath
Push the tool below the bulb and gently lift the surrounding soil. Do not use the stem as a handle to yank the plant free.
Lift with the foliage attached
Support the bulb with your hand and place it gently in a shallow crate. Fresh bulbs bruise more easily than their sturdy appearance suggests.
Remove only loose soil
Shake or brush away large clumps without stripping the wrappers. Do not scrub the bulb and do not wash bulbs intended for curing and storage.
Move the harvest out of direct sun
Strong sun can heat and damage freshly lifted bulbs. Transfer them promptly to an airy, shaded curing location.
How to cure elephant garlic after harvest
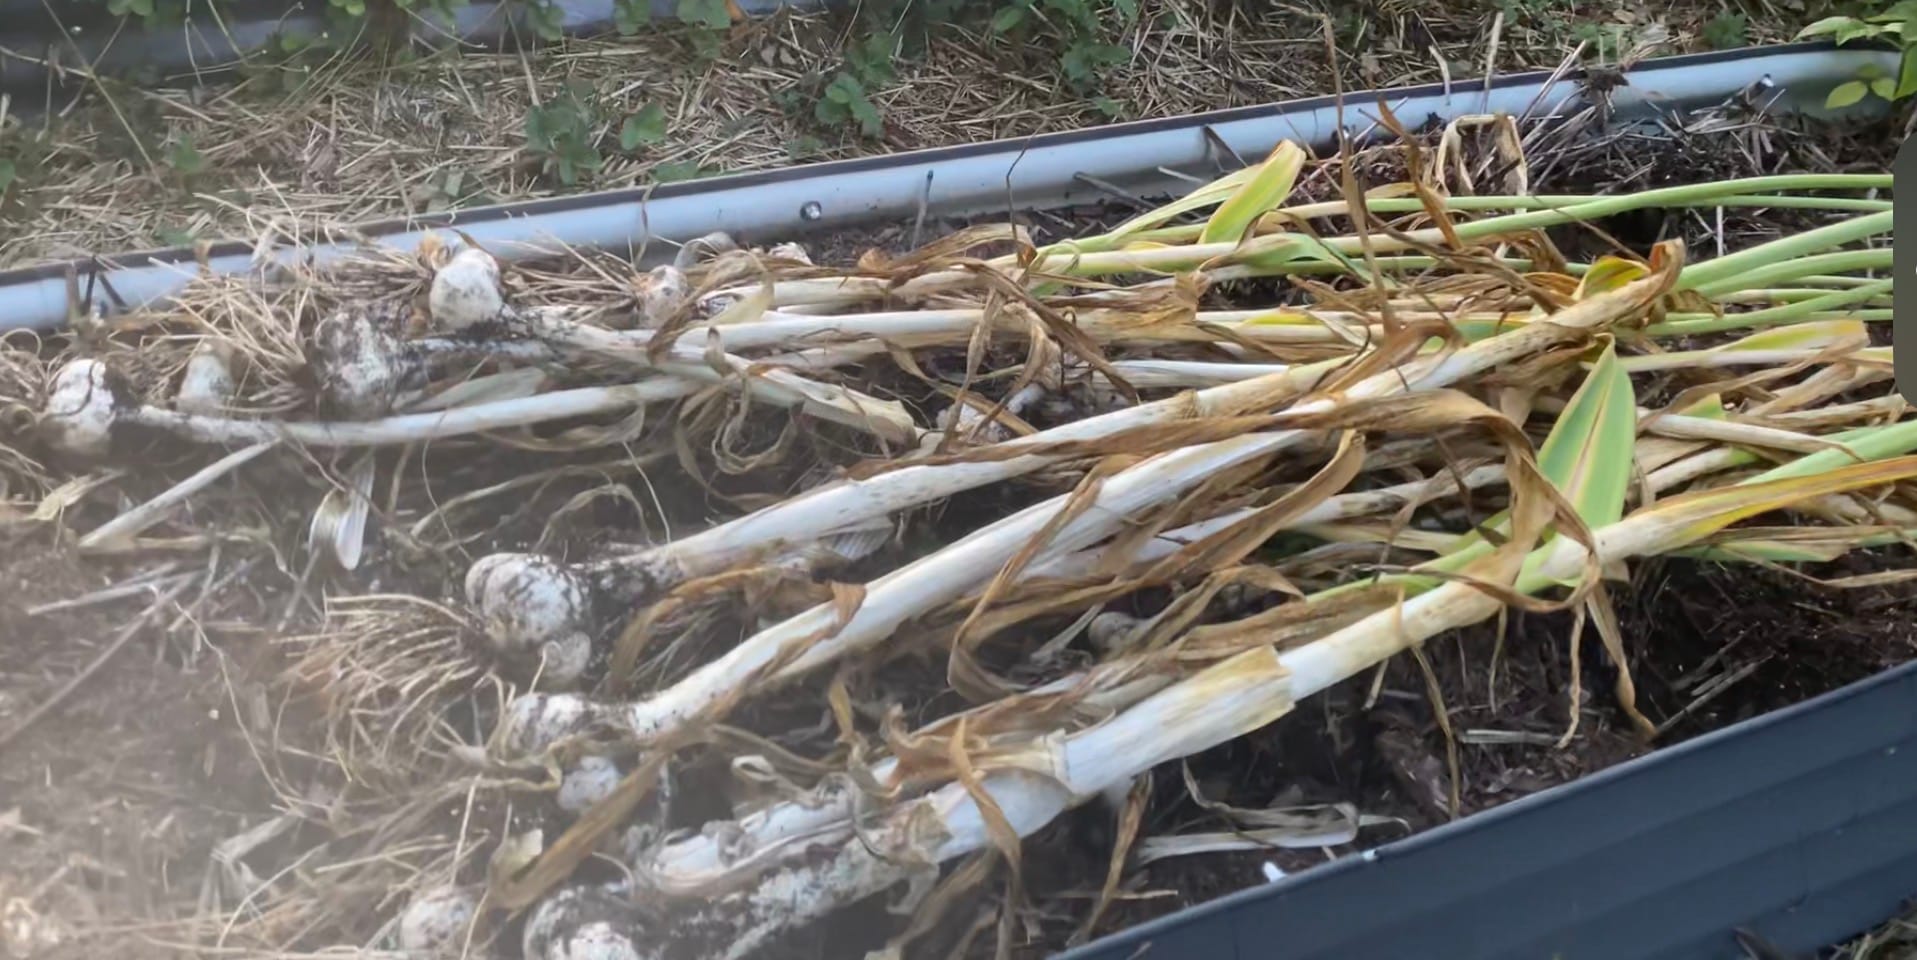
Curing allows the outer wrappers and neck to dry so the bulb can be stored. Keep the foliage and roots attached during the first stage. Arrange plants in a single layer on a screen, slatted shelf or shallow crate, or hang small bundles where air can circulate.
In a humid maritime climate, curing may take longer than it does in a dry inland location. Let the condition of the bulb—not a countdown timer—tell you when curing is complete.
Once the wrappers are papery and the neck is dry, trim the stalk while leaving a short neck. Trim roots to about 1 inch without cutting into the basal plate. Brush away remaining dry soil gently.
How to store cured elephant garlic
Store only firm, undamaged and fully cured bulbs. Place them in mesh bags, slatted crates, baskets or another breathable container. A cool, dry and well-ventilated location is more important than making the shelf look like a magazine pantry.
- Keep bulbs out of sealed plastic bags.
- Protect them from freezing.
- Do not store them beside a source of heat or direct sunlight.
- Check the bulbs periodically and remove any that soften, mold or sprout.
- Use bruised, cut or split bulbs first instead of putting them into long storage.
For controlled storage, Oregon State University Extension lists an ideal garlic range of approximately 32–38°F at less than 70% relative humidity. Most home growers will instead use the coolest dry, ventilated location available and monitor bulbs regularly.
Seven elephant garlic harvest mistakes
- Waiting for every leaf to die. By then, bulb wrappers may be deteriorating and cloves may be separating.
- Harvesting only by date. Weather and local conditions can move maturity earlier or later.
- Pulling by the stalk. This can tear the neck, leave the bulb underground or bruise the cloves.
- Digging too close. The large bulb may extend farther from the stalk than expected.
- Washing before curing. Added moisture makes safe drying more difficult.
- Curing in direct sun. Fresh bulbs can heat, sunburn and lose quality.
- Storing damaged bulbs with perfect ones. Use damaged bulbs first and inspect stored garlic regularly.
What are the small bulbs attached to elephant garlic?
You may find small, hard corms or cormels attached to the outside of the main bulb. These are normal. They can be saved for planting, although their hard coats and smaller size can make establishment slower and less predictable than planting full-sized cloves.
Keep planting stock separate from bulbs intended for the kitchen. Choose healthy cloves from your best disease-free bulbs and label them before the pantry begins making executive decisions on your behalf.
Frequently asked questions
What month do you harvest elephant garlic?
Fall-planted elephant garlic is commonly harvested in midsummer. Exact timing varies by climate, planting date and growing conditions, so confirm maturity by checking the leaves and lifting a test bulb.
Should all the leaves be brown before harvesting?
No. Begin checking when lower leaves are brown but approximately four or five upper leaves remain partly green. Waiting until all foliage is dead may leave too few intact wrappers for good storage.
Should I stop watering before harvesting elephant garlic?
As natural dieback begins and harvest approaches, avoid keeping the bed excessively wet. If the weather is dry, irrigation can usually be reduced shortly before harvest. Do not deliberately drought-stress actively growing plants weeks too early.
Can I eat elephant garlic immediately after harvesting?
Yes. Freshly harvested elephant garlic can be used immediately. Cure the bulbs only when you want the wrappers and necks to dry for storage.
Can I wash elephant garlic after digging it?
Do not wash bulbs that will be cured and stored. Gently shake or brush off loose soil and let the remaining soil dry before cleaning it away.
Why did my elephant garlic split into exposed cloves?
The crop may have remained in the ground beyond its ideal harvest window, causing wrappers to deteriorate. Split bulbs can still be used if sound, but they should be used before intact storage bulbs.
Is elephant garlic actually garlic?
No. Elephant garlic is botanically closer to a leek, although it forms large cloves and is grown, harvested and used much like mild garlic.
Plan what goes into the empty bed next
After harvesting elephant garlic, use the Garden & Pantry planting planner to find a suitable follow-up crop for your zone and month.
Open the Planting List →- University of Minnesota Extension: Growing Garlic in Home Gardens
- Oregon State University Extension: Preserving Garlic
- Washington State University Extension: Growing Garlic in Home Gardens
- Oregon State University Extension: Fall Is the Best Time to Plant Garlic
Always discard bulbs showing extensive decay, unusual softening or mold rather than placing them into storage.